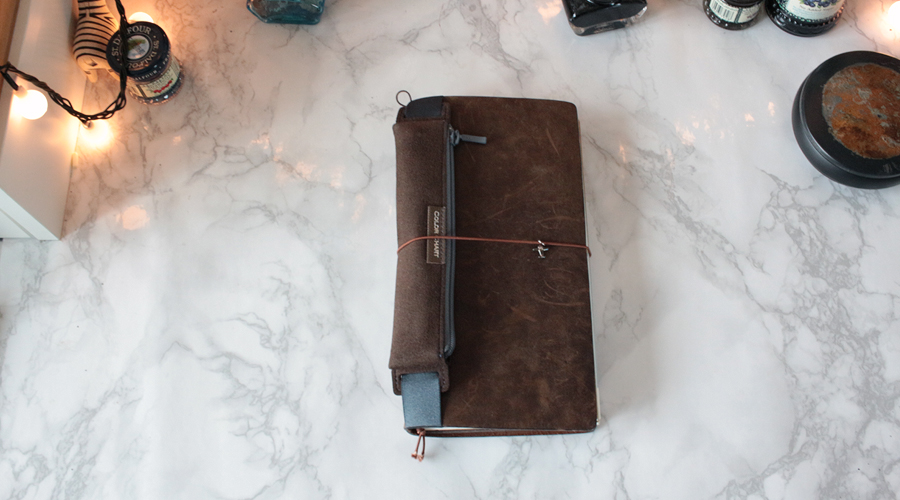
Dear friends, it’s time I properly introduced you to my traveler’s notebook! I’ve been using this traveler’s notebook by Midori since last June, so I’ve been using it for 9 months now. Some of you have been wondering what a traveler’s notebook is, and how it’s different from any other notebook or planner. So in this post I’ll be giving you a tour of my traveler’s notebook so you can see if it would be something that would work for you.
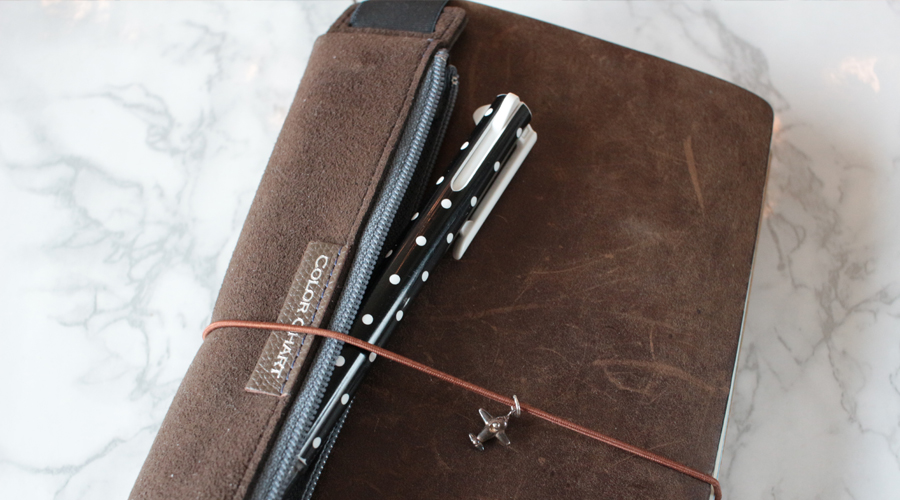
On the cover of my traveler’s notebook, I have a slim pencil case by Itoya that I found at the Kyobo Bookcentre in Seoul. I loved the soft velvety texture and the fact that it was a perfect color match. I also liked that it fit snug on the cover with an elastic band as opposed to some of the metal pen clips that could dent the leather. On the band that keeps my traveler’s notebook closed, I have an airplane charm that I found at a flea market that was made by a local artist. I just thought it added a whimsical touch to my notebook, and I couldn’t resist having something to go with the whole travel theme.
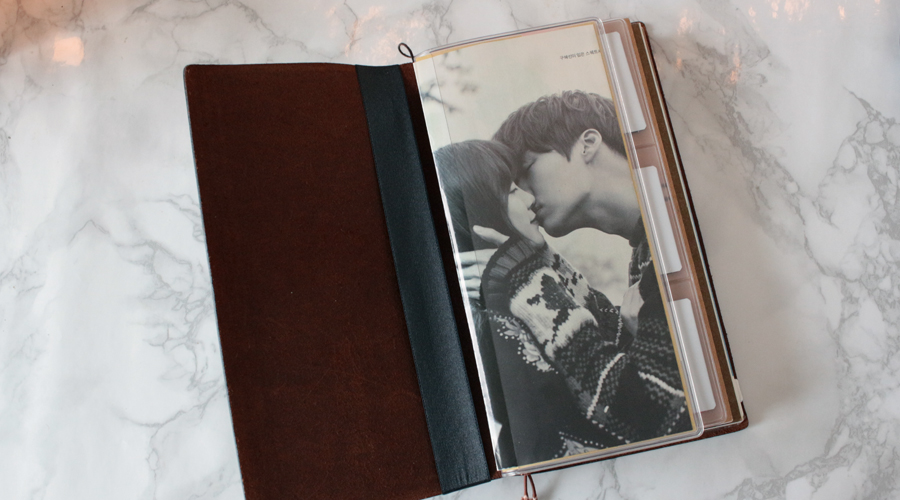
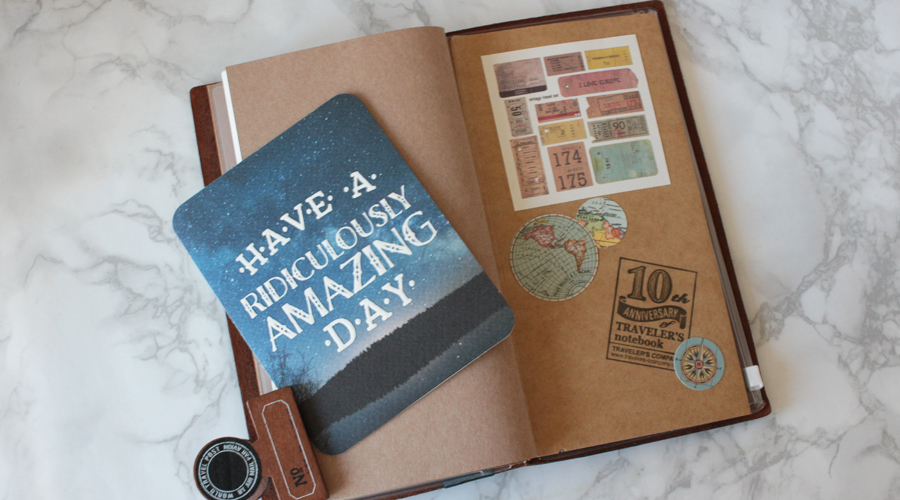
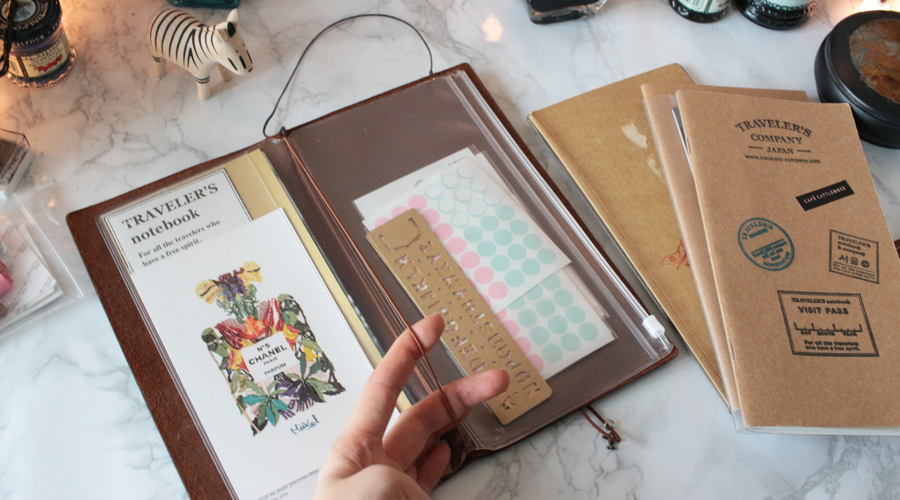
The first page in my traveler’s notebook is this plastic flap that I use as a cover page. I clipped this from a magazine and love seeing it every time I open my traveler’s notebook. It’s just a beautiful spread in black and white that has a lovely sentiment and all the good vibes!
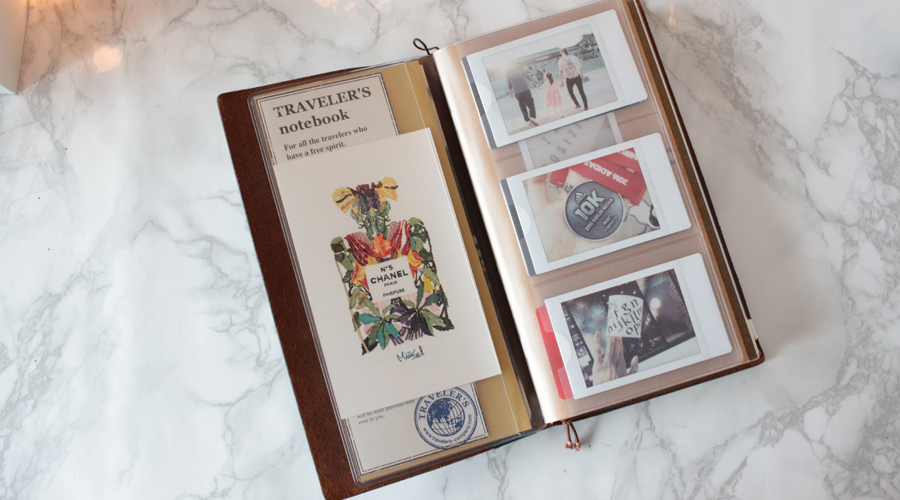
Then I have a card insert that people like to use for credit cards or rewards cards, but I tried putting an instax mini polaroid in one of the pockets and it fit perfectly! So you can totally use the card insert as a photo album page.
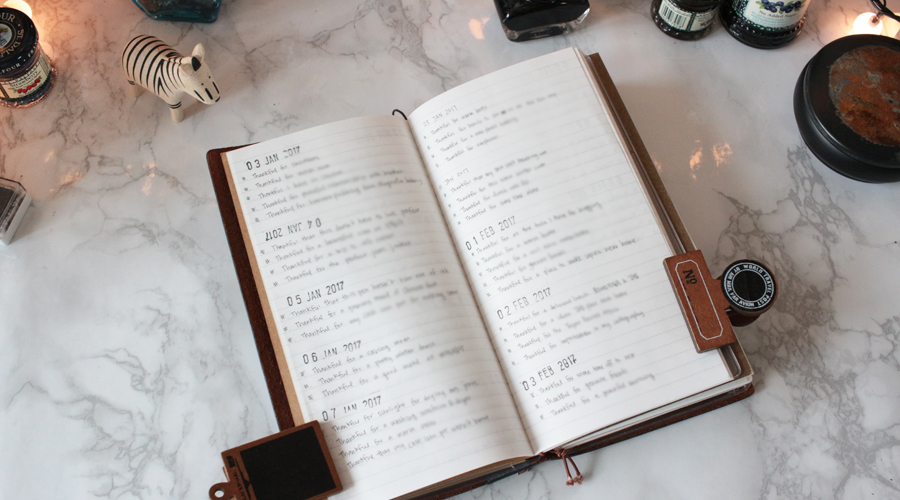
Then I have my gratitude journal that I keep it as my first notebook inside so that I’ll remember to write in it. The only real decorating that I do for this page is using a date stamp, but I’m not too bothered if I need to write in it and don’t have the stamp on hand. As you can see, I have two entries from January that I just wrote out by hand and on January 4th I accidentally stamped the date upside down. I’m all about embracing the small imperfections that make my journal feel lovingly human.
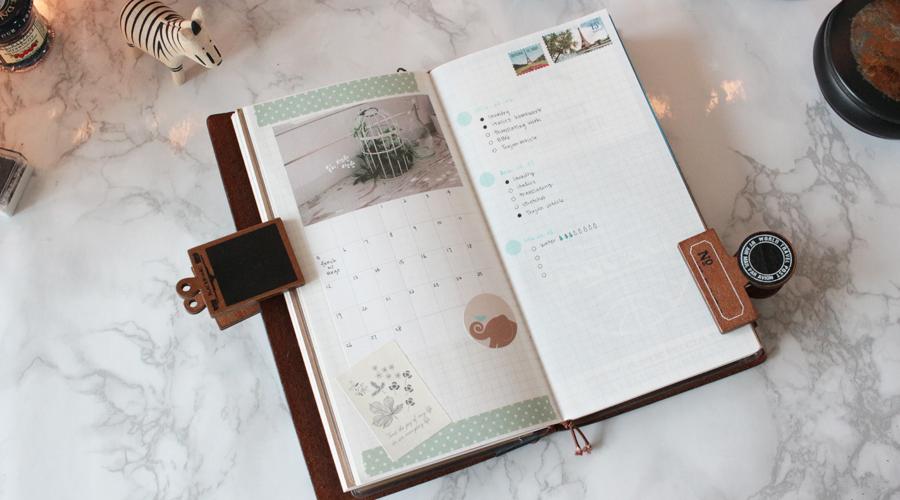
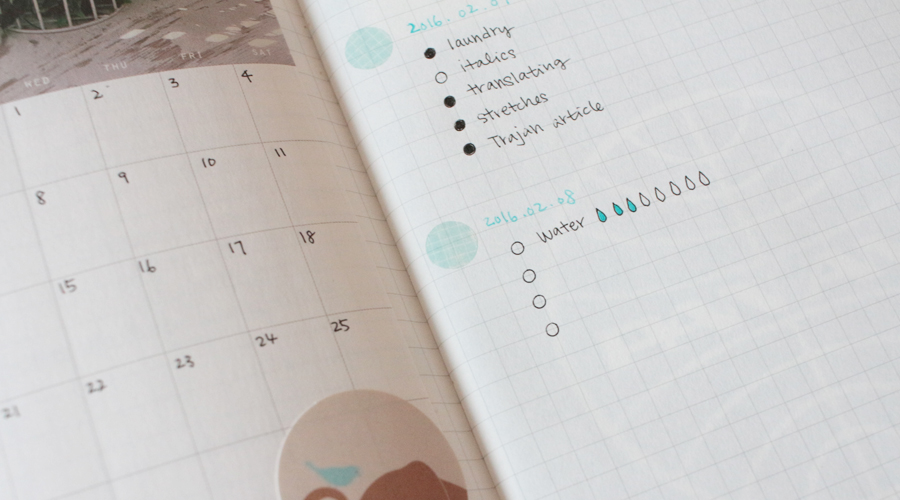
In a separate notebook I keep my bullet journal. Because I’m not a big monthly planner type of girl, I decided to forego a printed monthly planner and use this nifty calendar sticker. These calendar stickers are called the suatelier monthly plan calendar stickers and only cost 2,800 won (~$2.50) for a pack of twelve. If you’re anything like me and find yourself skipping over a few months and hate having to leave empty monthly pages in your journal, this is a great way to avoid the huge blank gaps! On the other page is where I keep my bullet journal, and one of the more recent things I started to do is keep track of my water intake. I toyed with the idea of getting a stamp for this, but in the end I thought it was faster and cuter just to draw out some water droplets by hand. As you can see, my mind is still back in 2016, when it should be present in 2017 already!
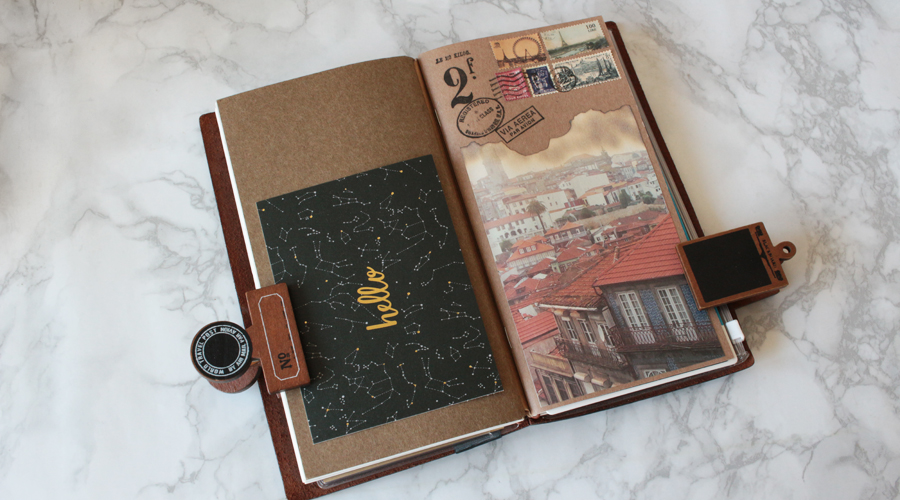
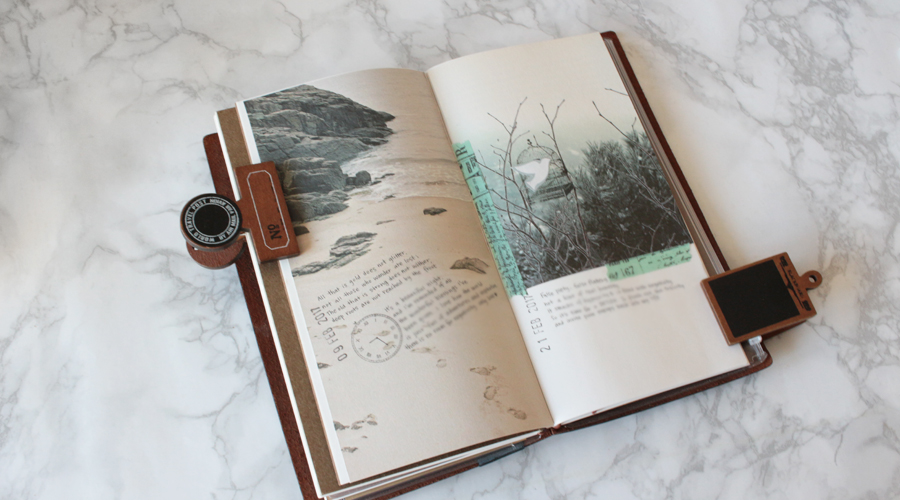
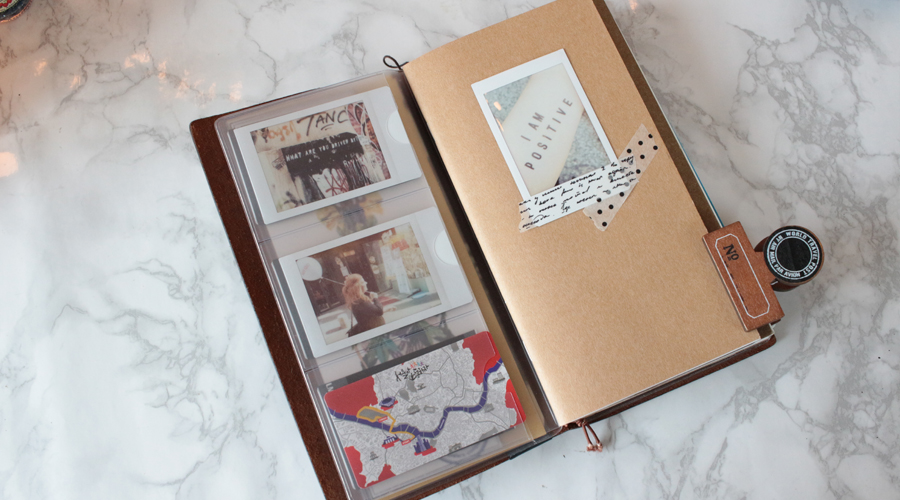
The last notebook I use as a journal notebook. This is where I pour my thoughts and get things off my chest. I don’t pressure myself to write in it everyday. Rather, I like the comfort of knowing that it’ll be there whenever I need to follow my stream of consciousness. I also like to collect stickers and tickets from places I go and things that I see, and until now I saved them in a separate album of sorts. I may consider just putting them directly into my journal as I find that I hardly ever go back to pull out the albums anyhow. It’s nice to have an album full of movie tickets because I can see all the movies I went to and remember the good times I spent with my friends, but lately in Korea the movie tickets have disappeared and you just use the receipt to get into the theater. I’m sure it saves money for the theater, but it was a disappointing change for someone who has been saving movie ticket stubs since high school.
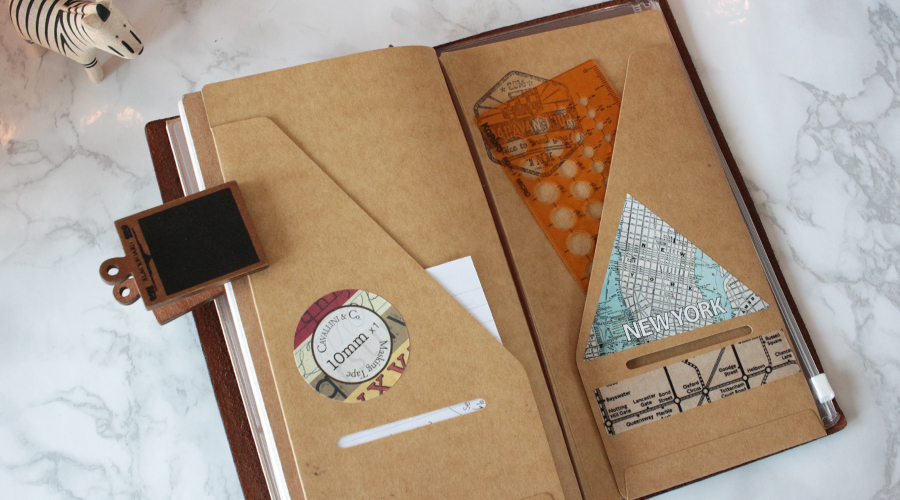
The next thing in my traveler’s notebook is this file folder. I keep odd ends such as memos and the stencil I use for my bullet journal in here. The nice thing about stencils is that you don’t have to carry around a bulky stamp and stamp pad. So I use a stencil to draw my bullets in my bullet journal.
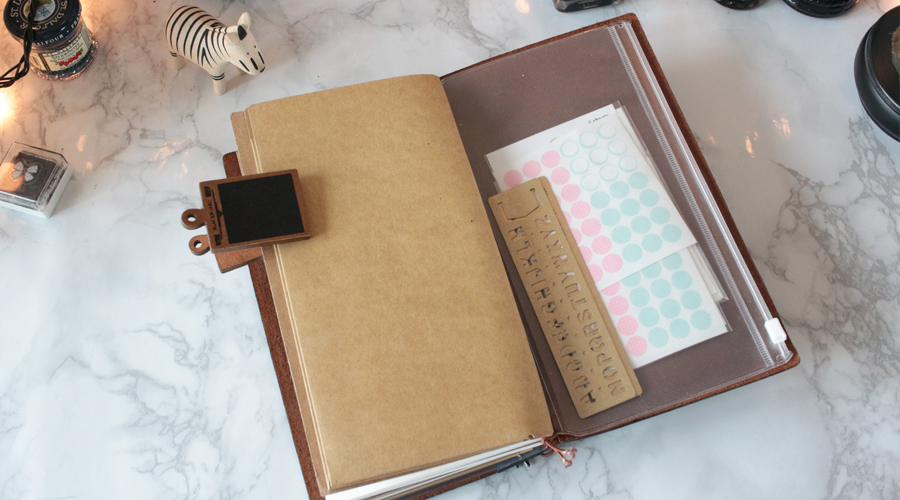
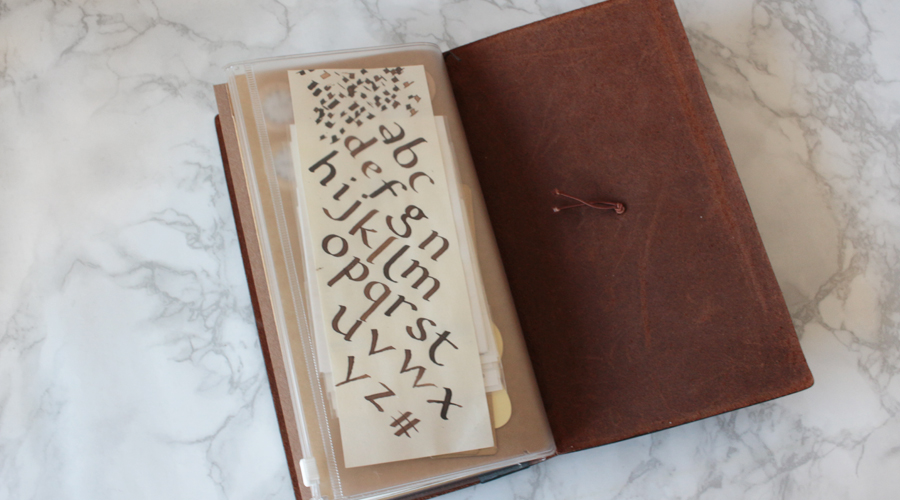
The last thing in my bullet journal is this little pocket where I keep my stickers and a few more stencils. This is actually part of the plastic flap that you saw at the beginning of my traveler’s notebook. The back of the pocket just showed the back of my sticker packets, so I slipped in some calligraphy practice that I had done to kind of add a personal touch.
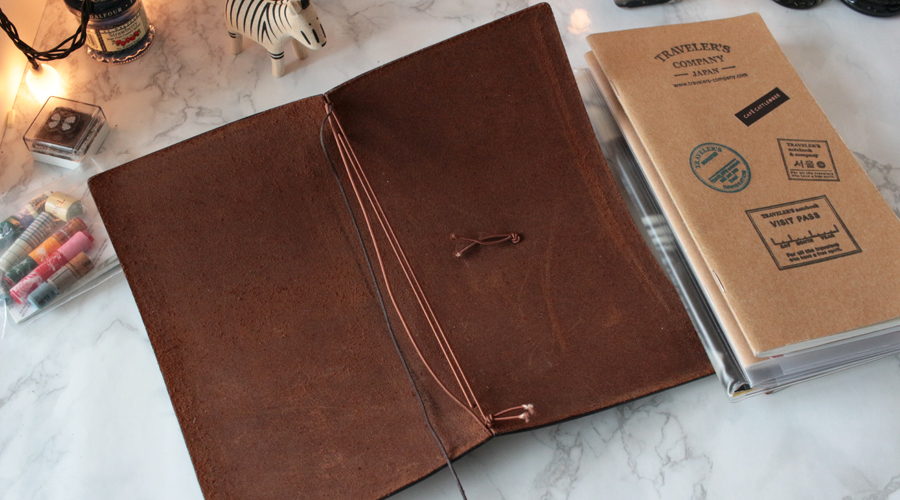
So how do you actually put the traveler’s notebook together? It’s really simple actually! The dark thread is bookmark (which I just cut off because I never use it), and in the center you have a band that you can hook the inserts onto. It only comes with one band in the center, but the box that the traveler’s notebook comes in has the exact same band that you can just slip onto the cover. That way you can have two bands to put your inserts through.
As you can see the bands that hold the inserts are sort of like hair bands, so I’m not afraid of them falling apart anytime soon. All you have to do is slip the insert through the band, and the band holds it in place. Nothing has ever fallen out for me before, and I much prefer this to a spiral notebook or a 3-ring binder. The spiral notebook hurts to rest your arm on when you’re writing on the left page, and the 3-ring was always snagging my fingers when I was opening or closing them. Because the traveler’s notebook uses bands, it literally takes less than 10 seconds to remove an insert and place a different one in. This means that you could easily change up your setup without any fuss.
Your Turn ♥ What do you use for planning or journaling?