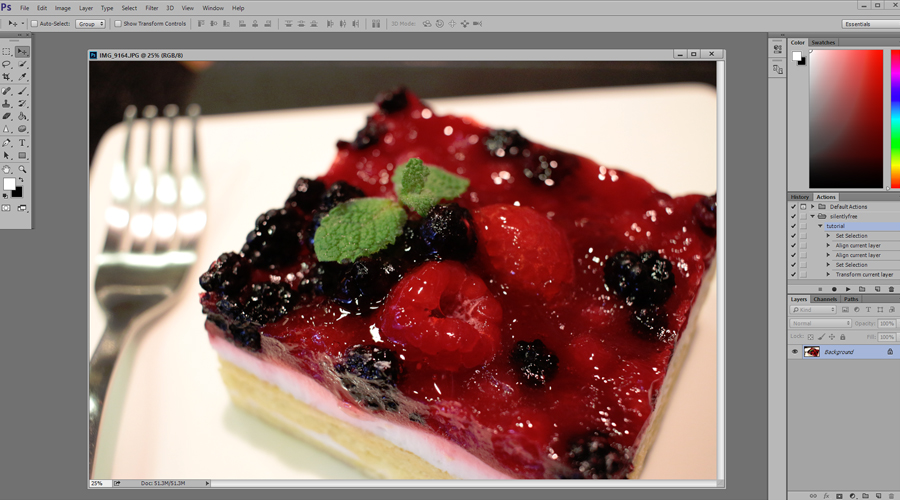
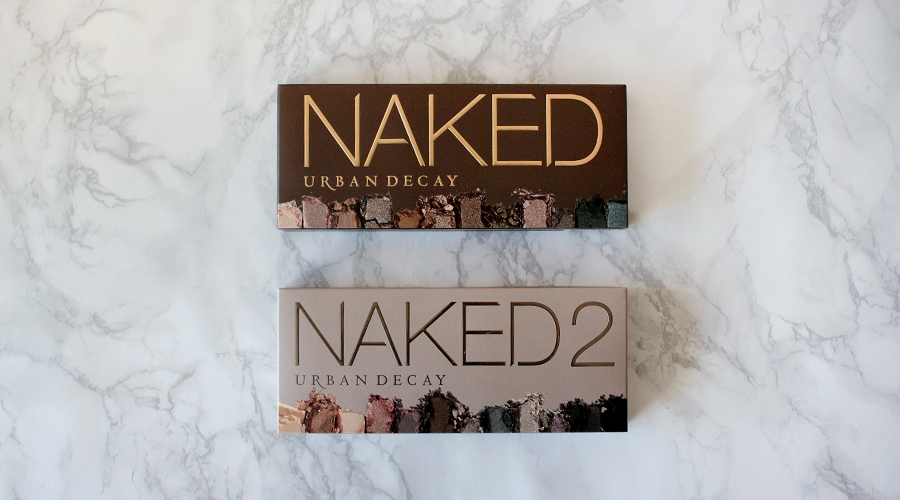
Retouching can make of a world of a difference to a photo. This is the original photo (sized down):

As you can see, it’s a bit dark overall with an especially dark upper left corner. It’s also a bit crooked leaning down towards the right, and while the text is clear it could use a bit of definition.
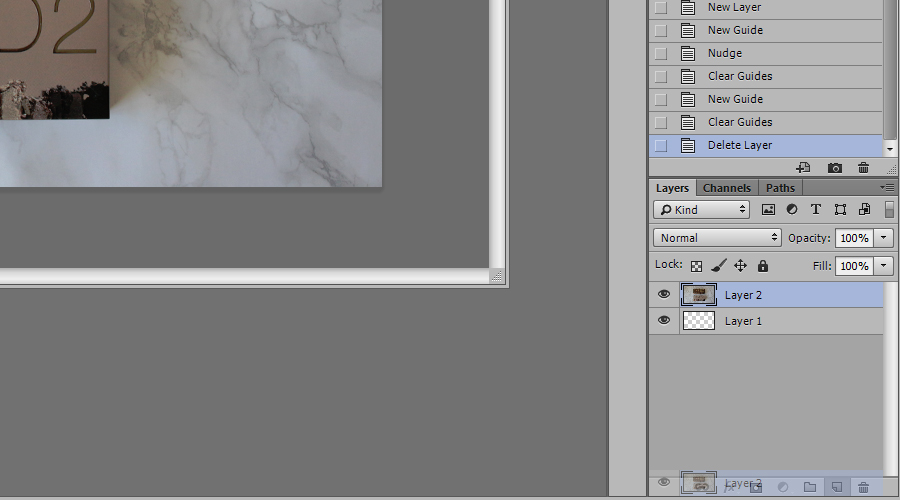
After I finish prepping a file, I go to the layers panel and click and drag the layer down to the paper icon (left of the trash bin icon). This gives me a copy of the layer to work with, so I always have an original to revert to. You could undo an action or go back several steps in the history panel, but sometimes I like blending a layer with the original so I prefer to make a copy right off the bat.
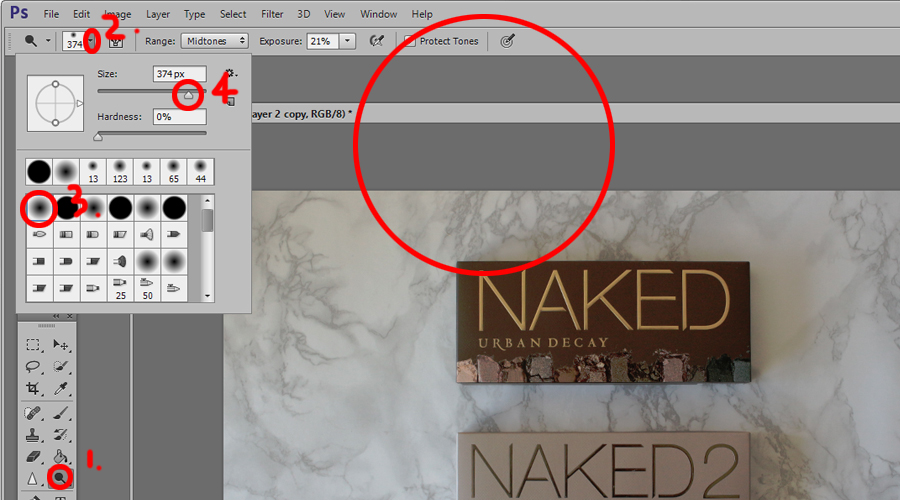
If there are corners that are darker than the rest of the photo, or perhaps one side is darker than the other (this usually happens because the window is on the left side of my desk) then I like to use the dodge tool to do some spot brightening. I’ve moved the tool panel down so you can see it in the photo. But it’s basically the tool with a black circle and line. If you can’t find it, it might be set to the burn tool or sponge tool so look for a hand icon or a sponge icon and right click it to select the dodge tool. Then click on the upside down triangle at the top left corner next to the brush shape, and select a soft circle. We want a feathered edge not a hard edge. Then adjust the size using the slider (play around with the size it doesn’t have to be that number or that size). If I’m brightening a border I like to use a bigger size and click outside of the photo for a softer effect, but if I’m brightening the object itself I’ll use a much smaller size.

Rather than brushing it all at once, think of it as spot correcting the brightness. Brighten a corner by using the dodge tool once or twice, then compare the brightness with the rest of the photo. What you want to avoid is making that corner brighter than the rest of the photo so that it sticks out.
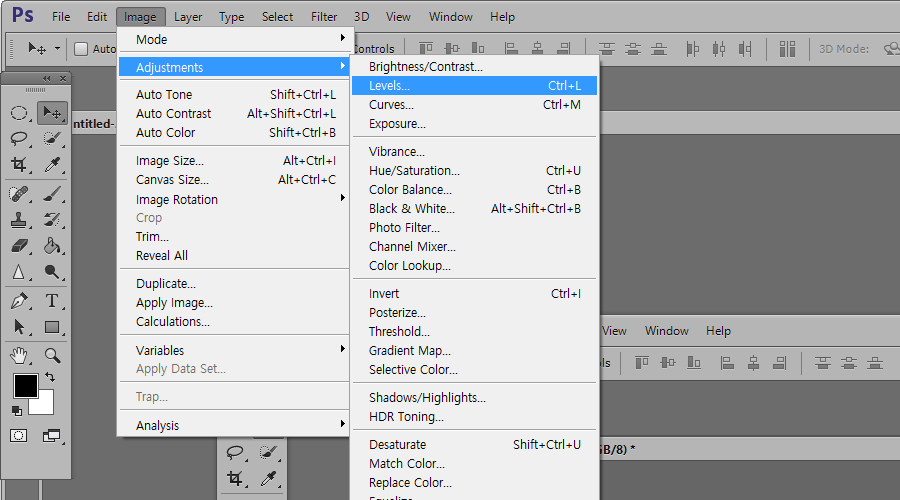
When I want to make the entire photo brighter and adjust how light or bold the colors are, I like to go to (Image > Adjustments > Levels). Sometimes I dabble in the (Brightness/Contrast) or the (Curves) menu, but in general I find the (Levels) menu to work quickly and efficiently.
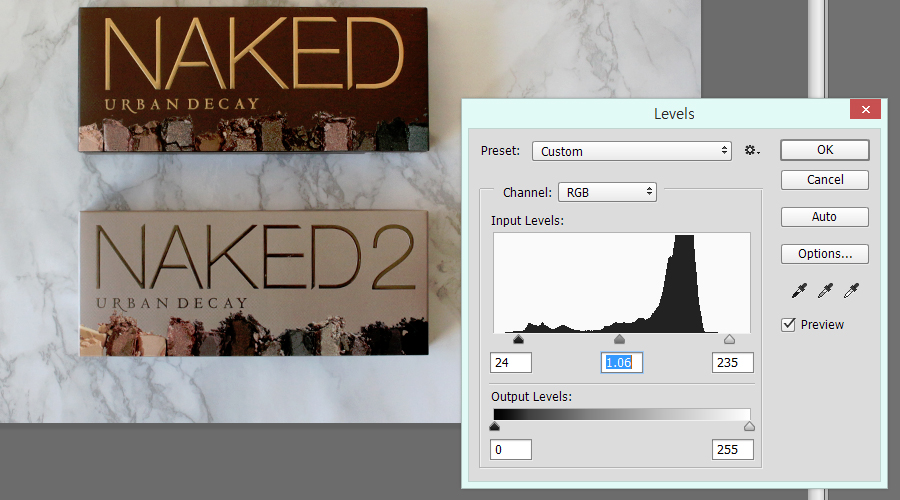
I like to begin with the slider on the right first and bring it in a tad. It differs with each photo so don’t get hung up on the numbers. The other two sliders I like to slide back and forth until I find a sweet spot. The trick is to find a nice bold color but not so much that it looks saturated. When I first started retouching photos, I liked to use strong contrast and saturation, but over time I’ve learned to love a more natural look that has a vivid touch.
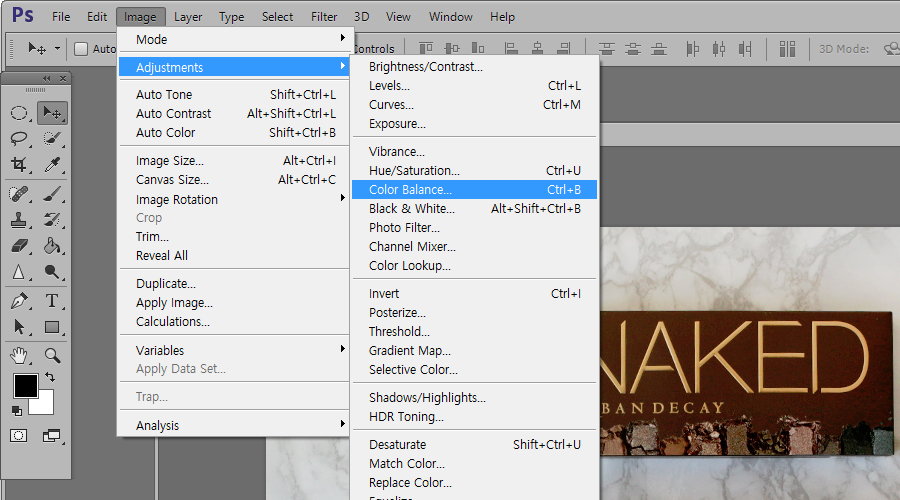
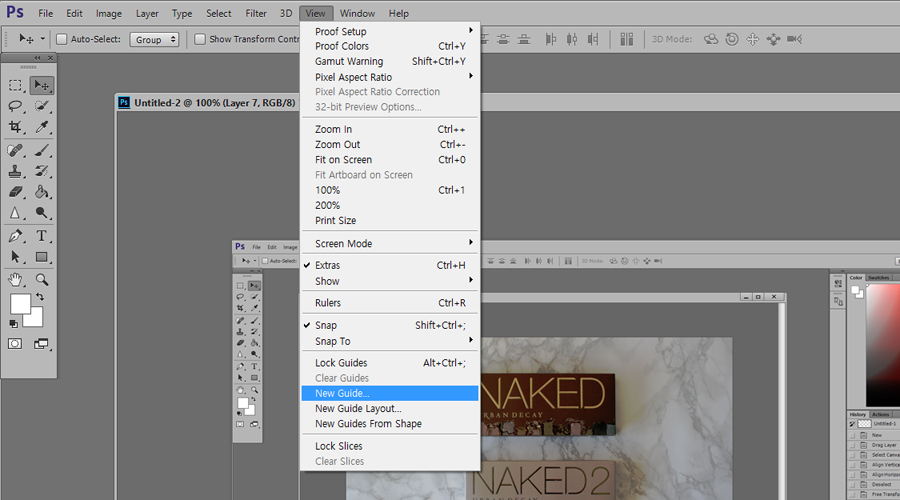
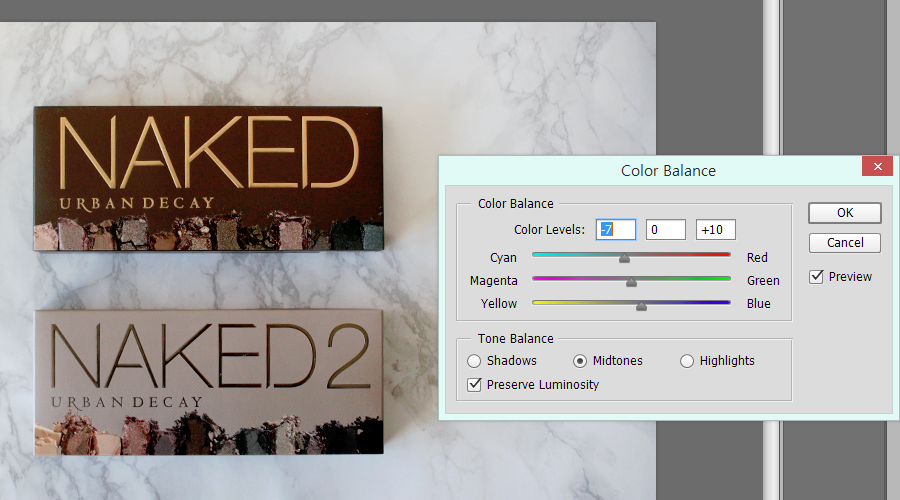
Then I go to (Image > Adjustments > Color Balance).

For color balance I basically move the slider back and forth until I find the sweet spot. I usually don’t touch the Magenta/Green unless I really need to. The most common correction I make is getting rid of a yellow tinge. Try moving the slider to one end then another, to get a feel for what the photo looks like with a yellow tinge or a blue tinge. Then you want to gradually zero in on the sweet spot by adjusting back and forth until you don’t get that yellow feeling or a blue feeling.
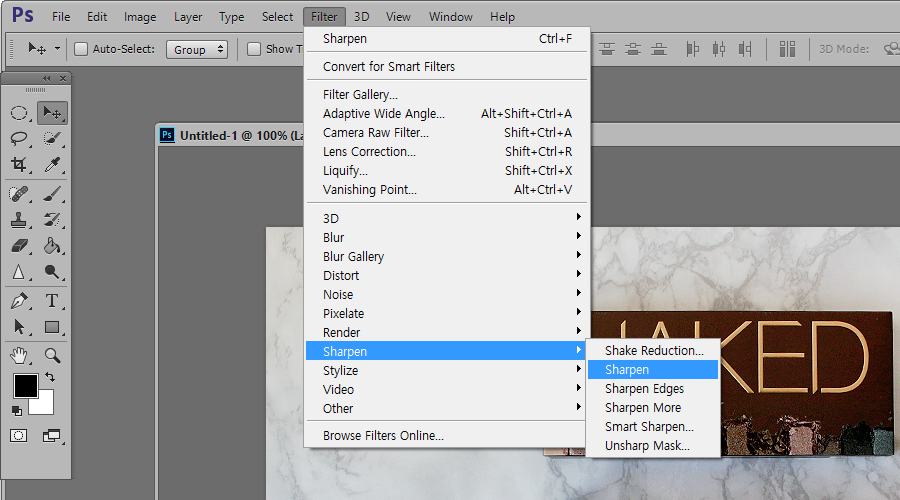
To add some definition to our photo we’re going to make another copy of the current layer (very important step), then go to (Filter > Sharpen > Sharpen).
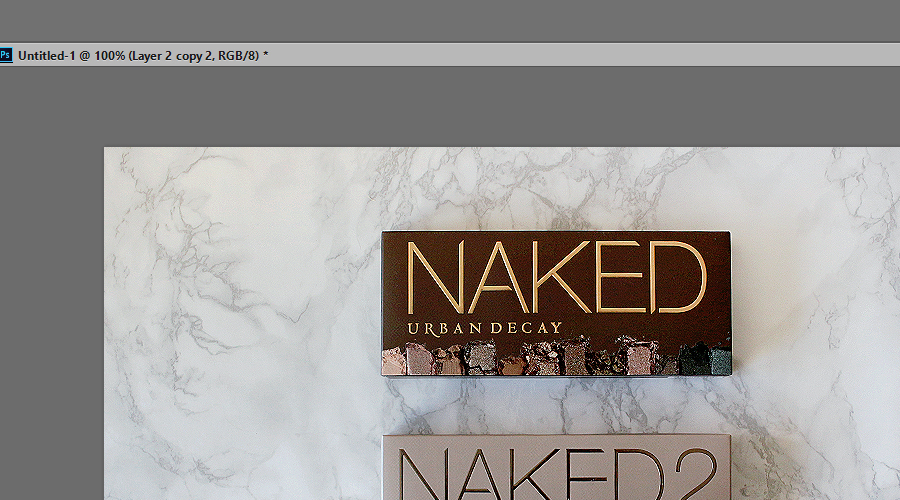
A common mistake I see in photos is over sharpening. If you compare this photo with the one above you’ll see an ugly gritty texture on the brown background of the first palette, and it looks very noisy. It looks like the resolution has gone down as well.
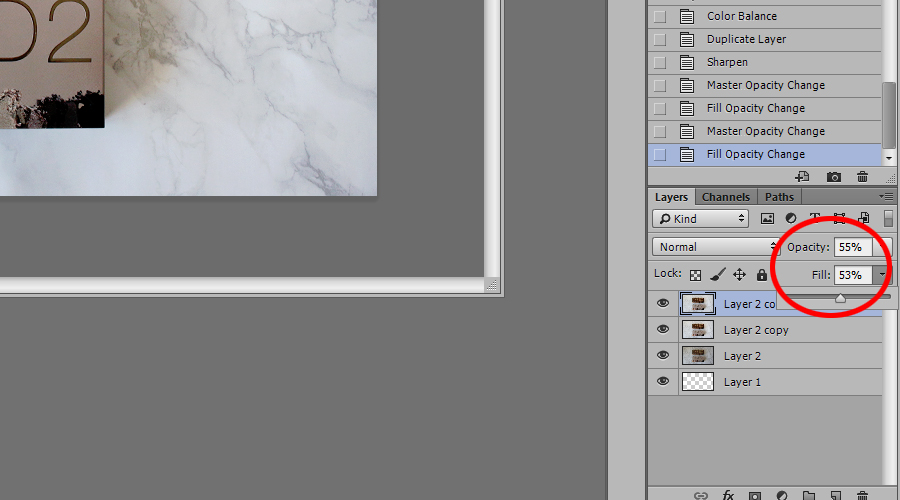
So we’re going to select the layer we sharpened and knock down the opacity by half. I usually stay between 40~55% but this is not a fixed number. We’re aiming for definition, not gritty noise. If you click on the eye icon to the left of the layer, you can toggle the layer on and off to see the difference the sharpening makes.
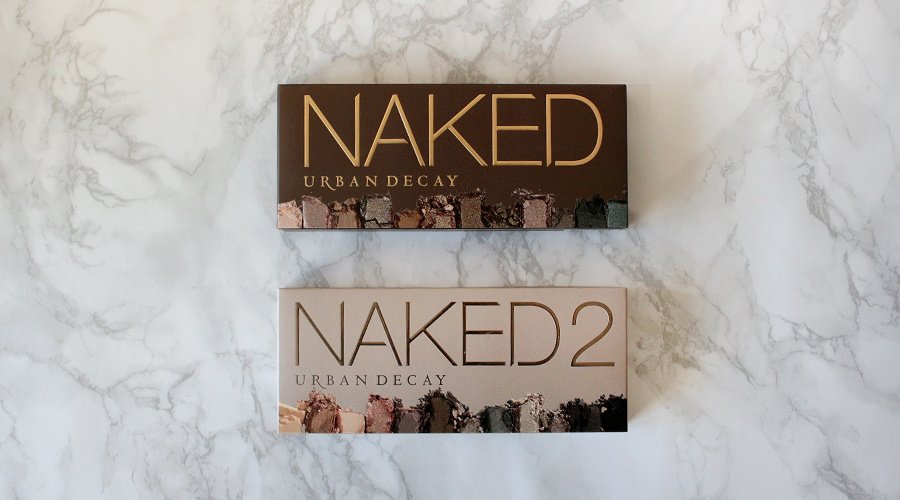
So this is the final result. If you compare to the first photo, it is slightly different because I retouched from scratch for the purpose of this tutorial. Depending on when you edit your photo, the result can have a different vibe. There have been times in the past when I’ve completely re-did a retouch because I didn’t like it the next day or even while I was writing up the post. So don’t be discouraged if you don’t like how your retouch turned out and keep practicing!
Your turn ♥ What are your retouching tips? Do you like saturated photos or softer ones?